
 posted 03-31-06 09:10 PM EDT (US)
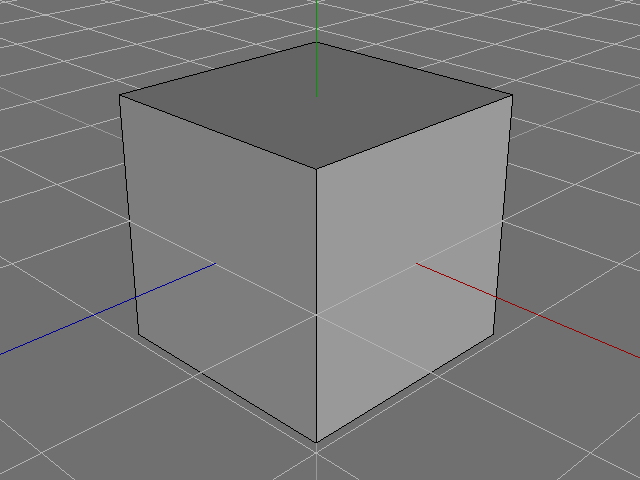
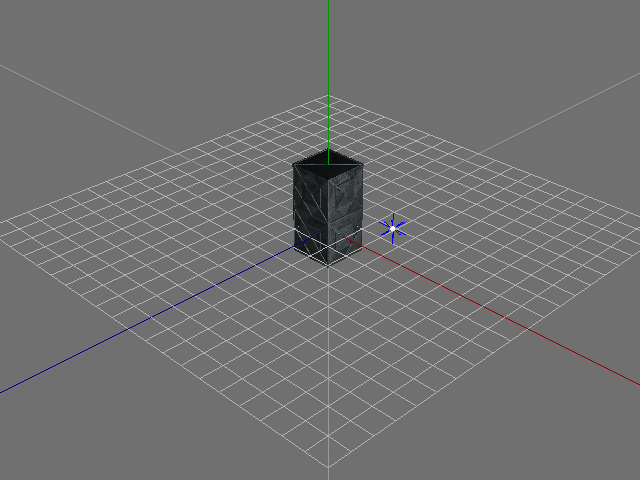
Welcome to the Definitive Guide! In this thread, I will teach you Wings 3D; a subdivional modeller made by agroup of people inspired by the " Mirai" Subdiv-modeller. Well, let's get started with the basics; Polygonal basis. To create a shape, or polygon; right click on the 3D plane; and move down the list till you find the shape you wish to modify. In this tutorial we'll mostly start out with a basic cube. So right click on the 3D Plane and select the cube. It should look something like this;
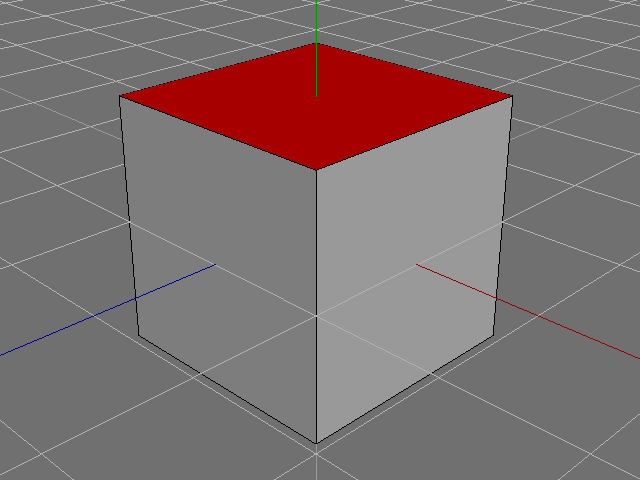
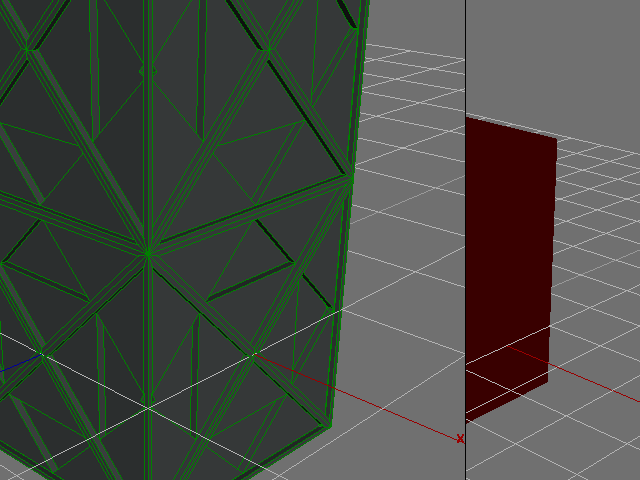
Cube Now that we have a basic shape, let's select the top face. You can select faces by hovering over the "planes" and clicking. When you select a face your selection will turn "red" to indicate where you have selected and where you haven't. Now your screen should look something like this;
Selected Face Now we right click on the 3D plane again, this time selecting 'Mirror'. This will create the same box over again, only on top of it. Results should probably look like this;
[ Mirrored Object Now press and hold CTRL+A, this will select all faces in your current 3D model. Now right click on the 3D plane, and select inset now. Inset it ALL the way, till you see X's seperating 4 planes on each side. Results should look like this;
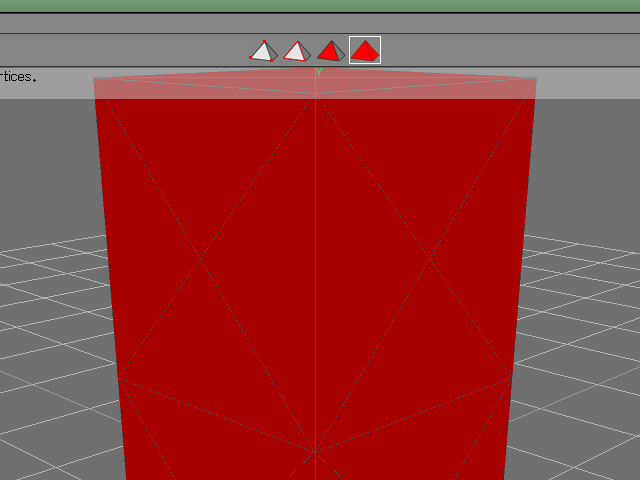
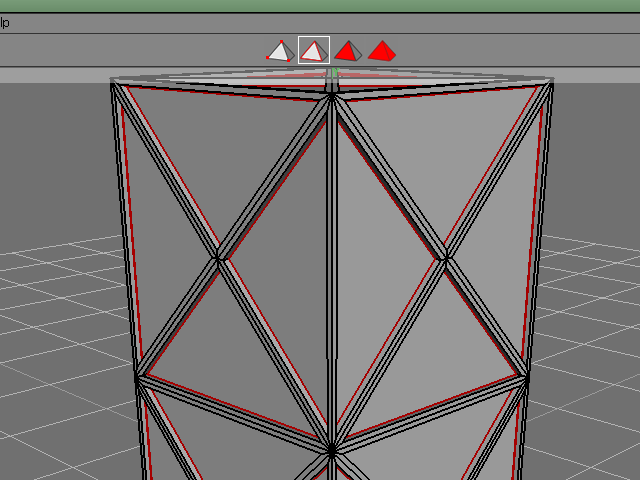
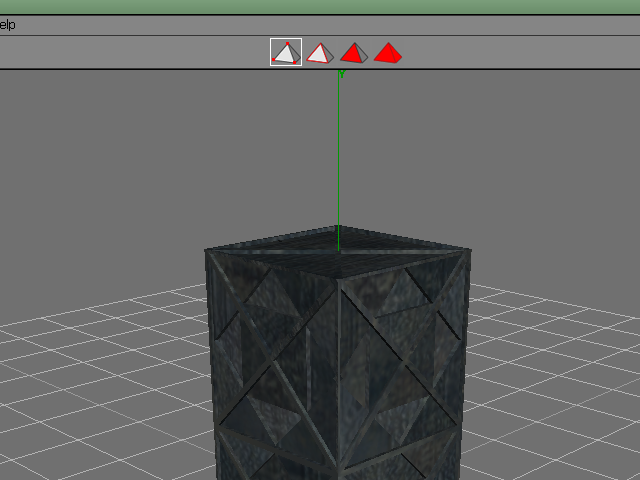
Inset Looking good so far aye? Now we press and hold CTRL+A again, and switch to the last selector on the list of selectors. It should look like this;
Last Selector We'll get further into the selectors at a later time; but now let's right click on our 3D Plane, and select 'Clean-Up', this allows you to inset your newly created faces. With further-ado, switch back into the face selector (your default), and inset your faces 1 cm apart from the lines seperating them. Results should look like this;
Insetted (2) Now, with all of those faces selected, right click on the 3D plane; and select 'Extrude'. This should create a 'fold-out' menu. There are many options such as 'X', 'Y', and 'Z'. But for now let's just use normal. Extrude it 1cm INWARDS. Results should most definately look like this;
Extrude Your doing excellent! But as of now, Wings 3D's edges look very smooth. So select the Edge selector which is to the left of your current selector. It should look like this;
Edge Selector Alrighty! Now press and hold CTRL+A again. And right click on the 3D plane. Now select Hardness; this should 'fold-out' another menu. Select Hard. This should give our model a nice crisp look. Results shoud look something like this;
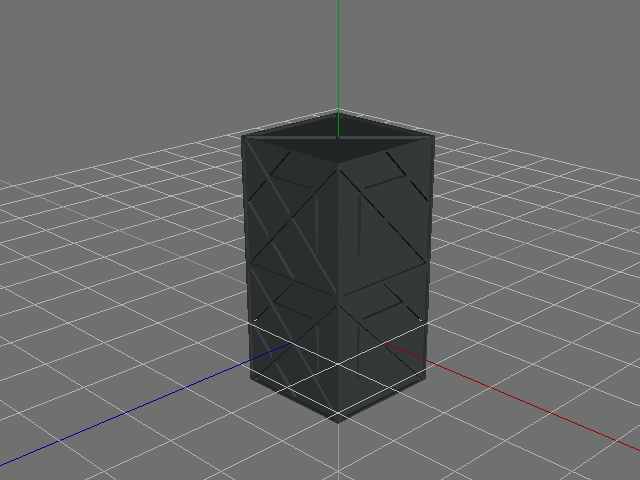
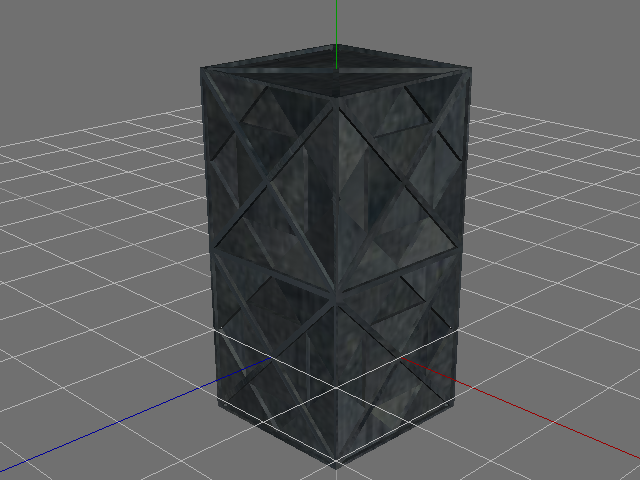
Hardend Yay! Almost done with this issue my fellow Wings-ers. Now zoom out (the only possible way I know how to is to scroll your mouse wheel down). You can press TAB to see a preview of how your model looks, but I recommend for 'finished' model shots you render it. You can render it by pressing file, and selecting Render; and now selecting OpenGL. Results should kinda look like this;
Rendered Scene Well, I hope with the knowledge you've gained from this Issue, you can continue to make some pretty cool models!
- Issue 2 -
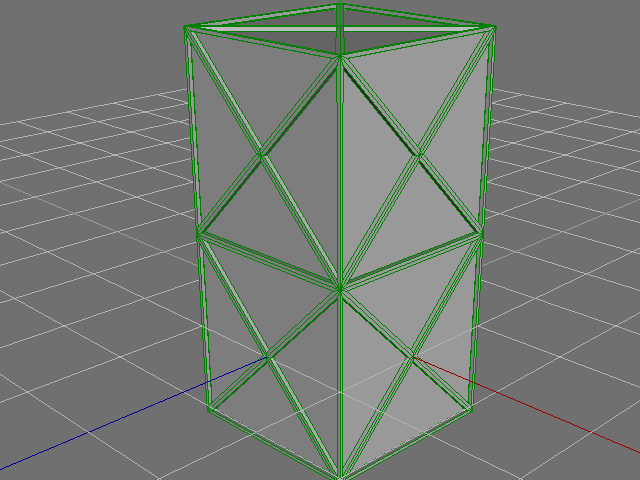
We last left our model looking something like this;
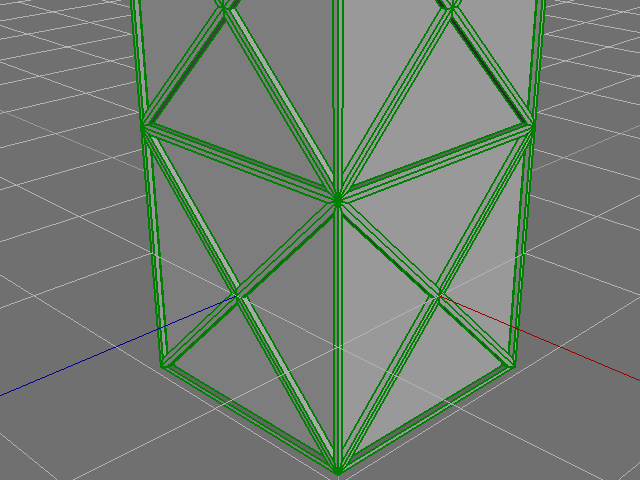
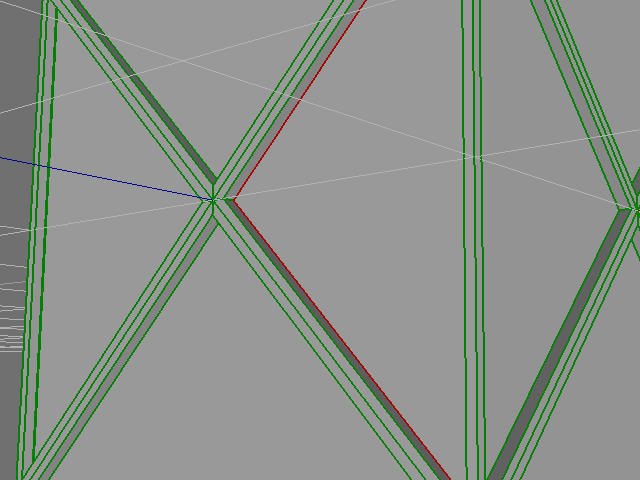
Current Model Well, now we're going to disect this model. With edges of course. Switch into the "edge" selector. And select ALL of the last extrudes inner lines. Somewhere along the lines of these;
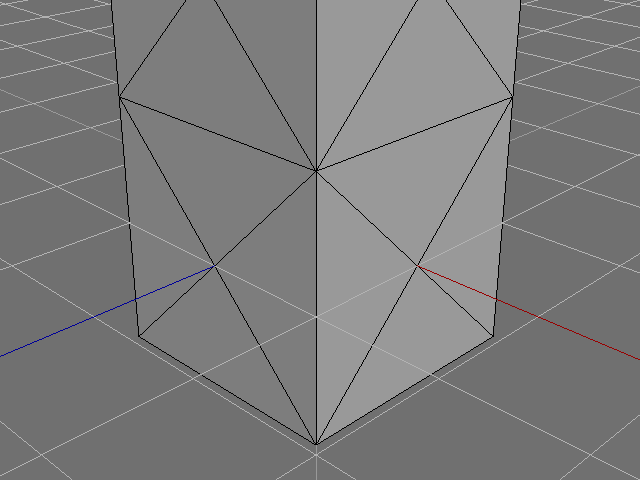
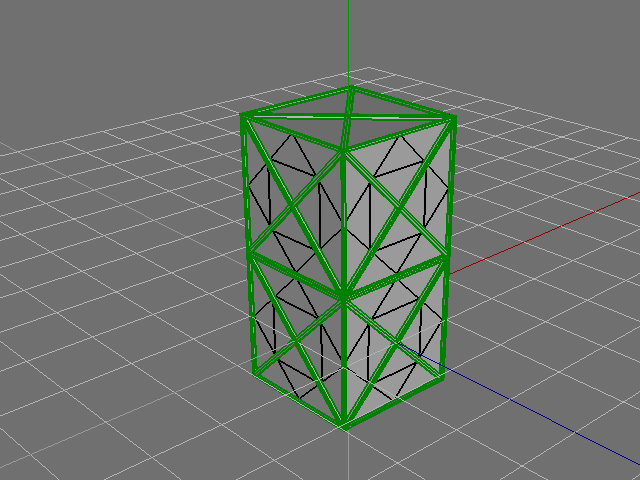
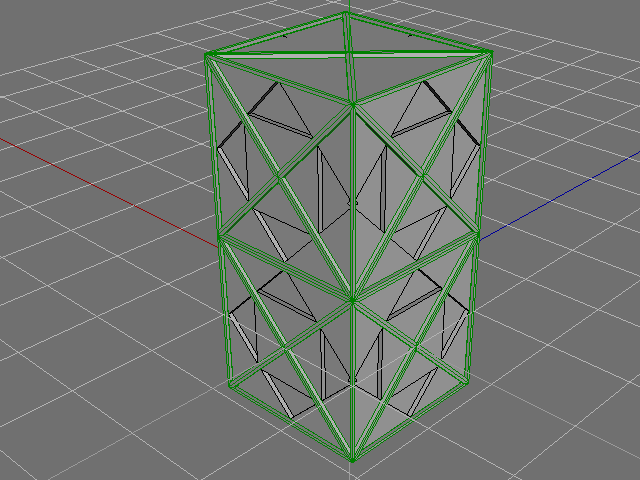
The Extrude's Inner Lines Make sure you select all of them, otherwise we won't get the correct shape! (to rotate click your mouse wheel, or if your in "Maya" camera {configured in Edit->Preferences->Camera} hold down ALT). When your done selecting, right click into the 3D plane and select 'connect'. By the end of the tedious selecting, you should end up with this;
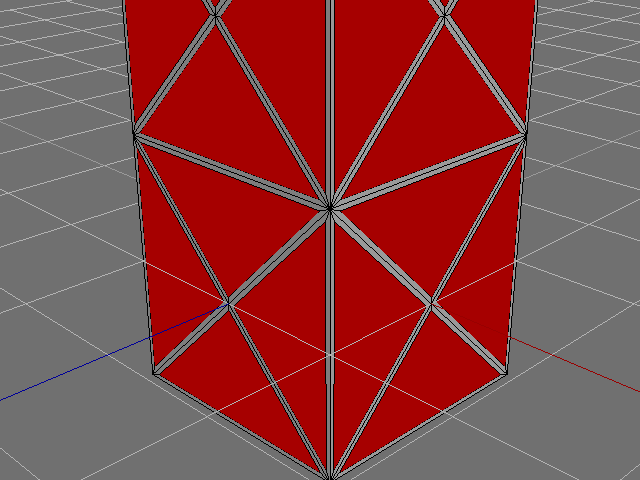
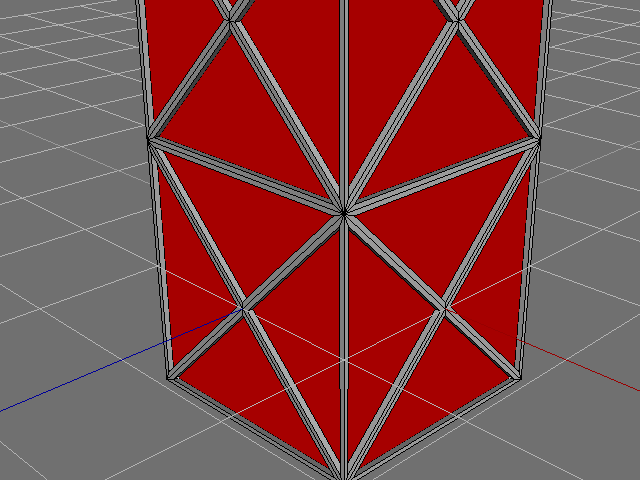
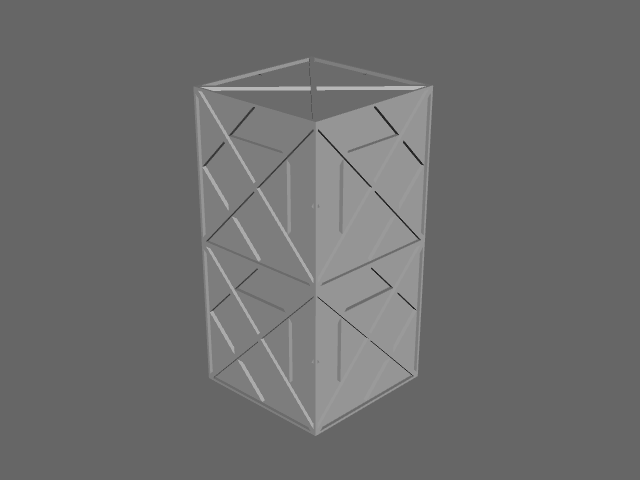
Finished Edge Disecting Switch into the face selector, now select all of those triangular faces, and extrude them inwards a 1cm. Finished results should look like this;
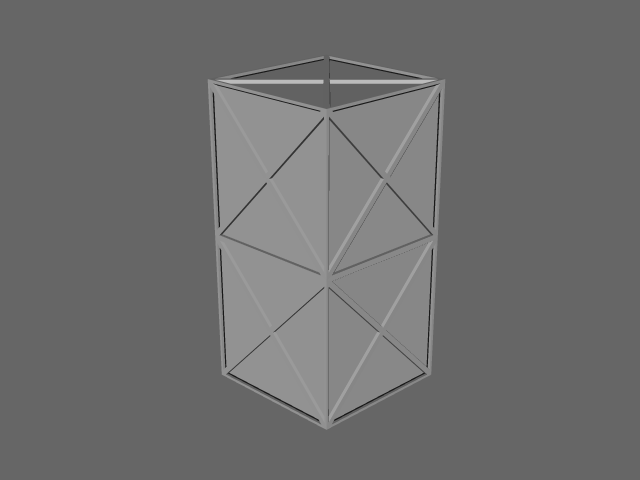
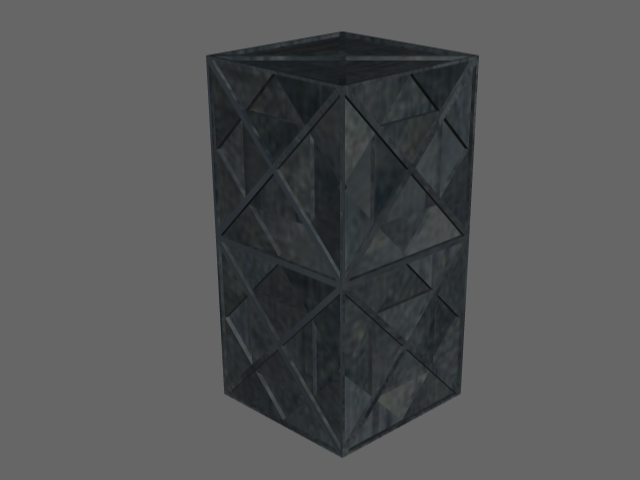
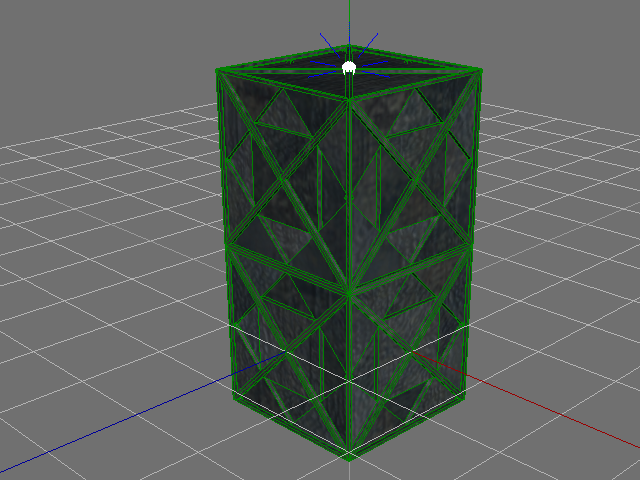
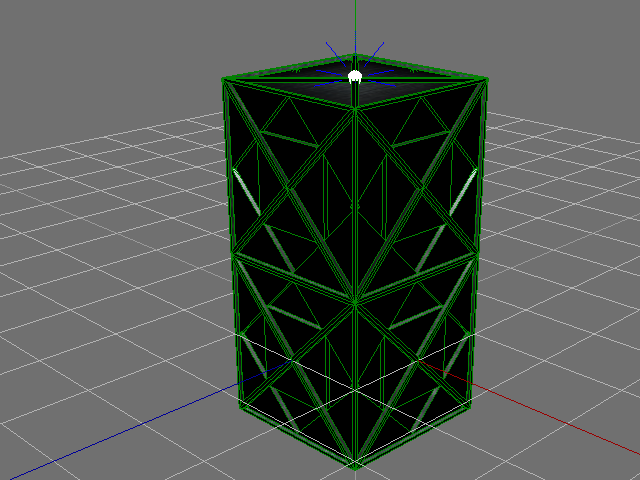
Finished Extrude Looking shweet aye? Don't forget to harden your faces as taught in the first issue. Now let's render this bad pup. It should look like this;
Finished Render If you don't come up with this result, it is because your Wings rendering is set to shadows. For some reason, it casts black on every third square. (you can turn this off by selecting your Rendering options).
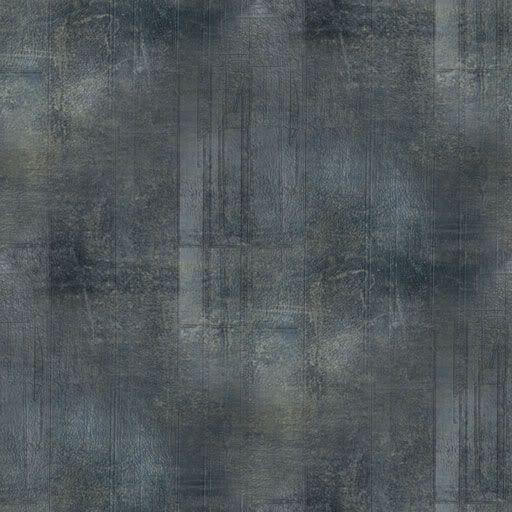
- Issue 3 - Now that we have a basic model, we just need to texture it! Textureing can be hell in Wings3D, but it can just as easily bring your model an excellent touch. First off, we need a texture. This one will do for our model;
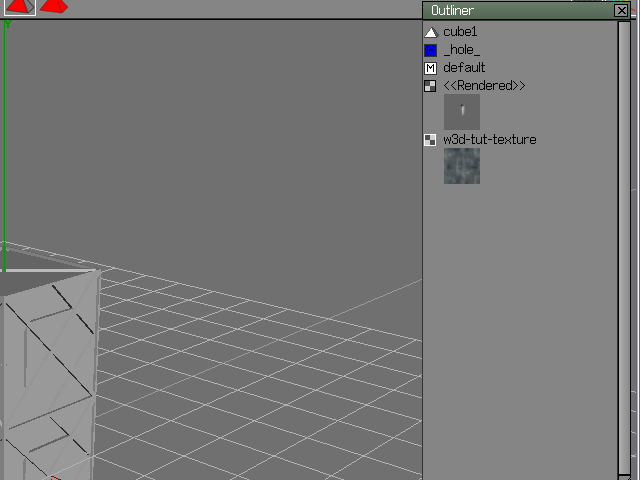
Texture | Hi-Res Version Good. Now click File -> Import Image -> <loaction of image>. This is quickest and easiest way for you to put a texture on a model. Now, click Window -> Outliner. It should look something like this;
The Outliner Good. Now drag your texture over 'default' in the outliner. And select diffuse. Results should look like this;
Eww... Grey Ack, it's all dark grey now, and you can't see the texture! OK... now go into the 'Face Selector', press and hold CTRL+A again. And right click on the 3D plane, and select UV Mapping->Direct. Results should look like this;
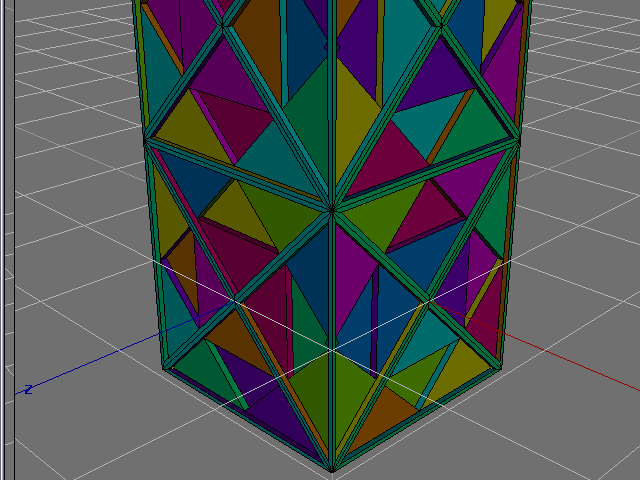
UV Window Good. Now press CTRL+A in the UV Window, right click on the 3D Plane, and select 'Segment By->Projection'. Results should look like this;
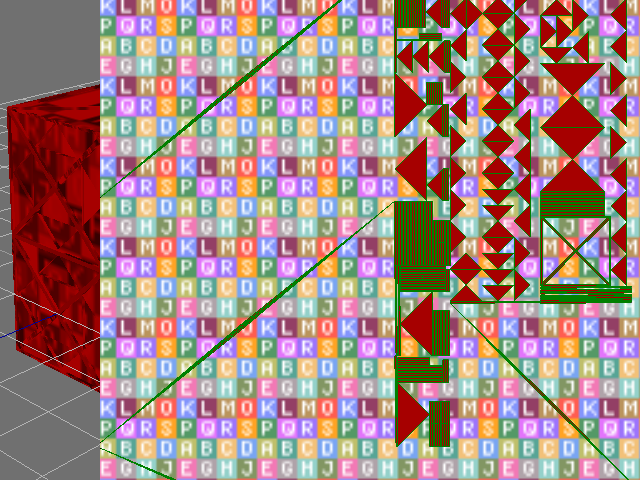
It's a Rainbow! Yay! Rainbow! Now right click on the 3D plane, and select 'Continue->Unfolding'. Results could look like this;
I know my ABC's! Now, close the UV Window, and take a look at the 'Outliner'. It now list's a 'cube1_auv'. Now drag your texture over that like you did to default. Results should end up quiet well. So well that it'd look like this;
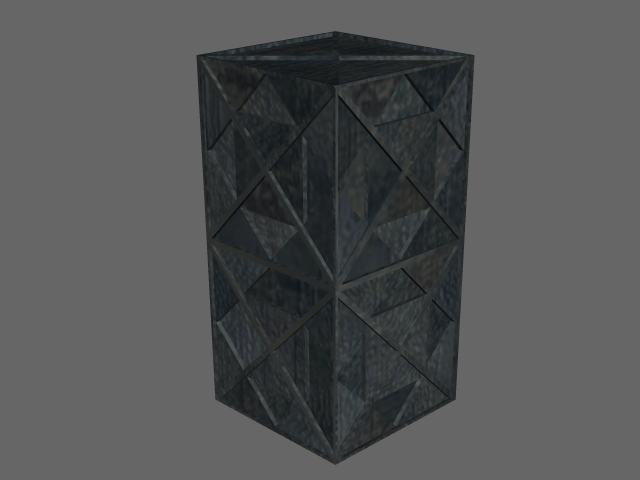
Textured Now let's render! Results should look like this;
Standard Render For those of you who used the hi-res texture results should look like this;
Hi-Res Version
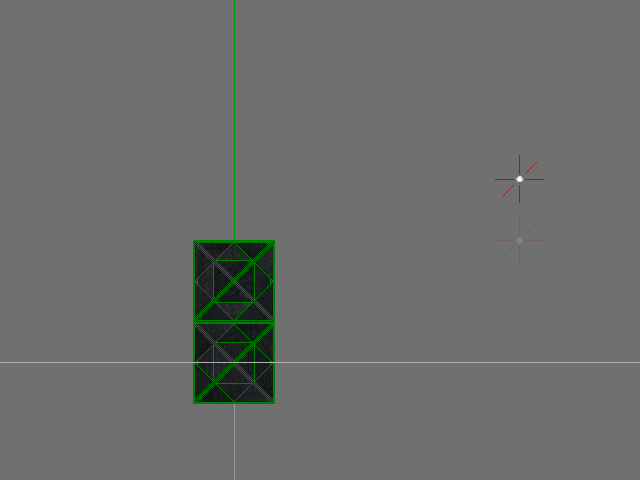
- Issue 4 - We've been mostly caught up with the standard selectors. Now let's experiment around with the deformations in the Vertice's selector to create our 'crumpled' frames in GB. It should look like this;
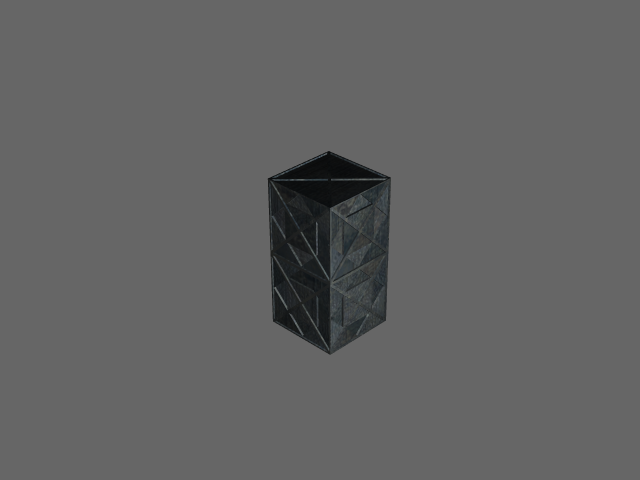
Vertice Selector Now press and hold CTRL+A again. Right click on the 3D plane and select Deform->Crumple->Random. Results should look like this;
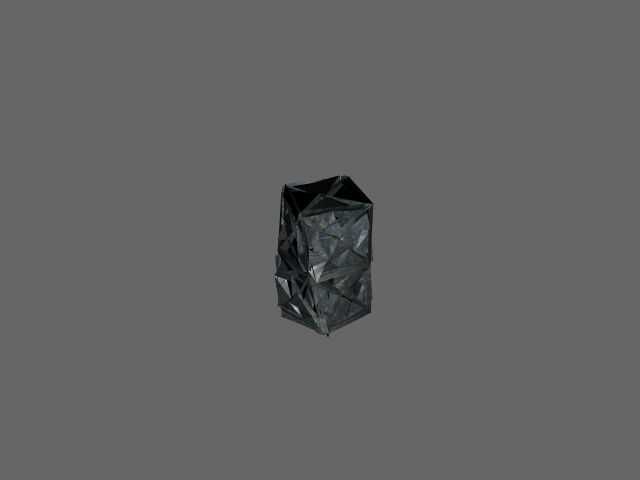
Crumpled Frame - Test 1 Now were going to twist it a little. Right click on the 3D plane and select Deform->Twist->Y. Results should look like this;
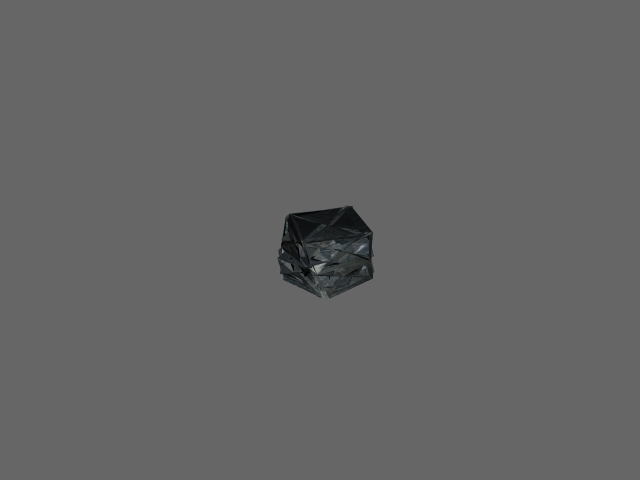
Crumpled Frame - Test 2 Oi. Now press and hold CTRL+A again, and switch your selector to faces. Now right click on the 3D plane and select Smooth. This is only to subdivide the faces a bit, and also make the see-throughable parts unsee-throughable (Yay for idiums!). Results should look like this;
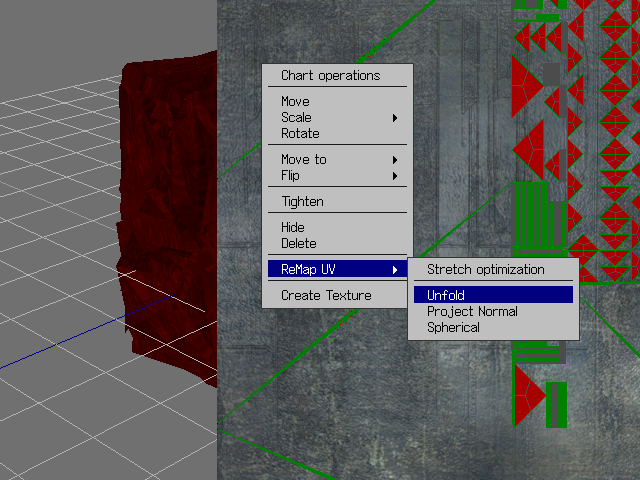
Crumpled Frame - Test 3 Now UV-Map it again. Only this time selecting ReUVMap->Unfolding, otherwise it'll end up the same UV as the last model. The UV screen should look something like this;
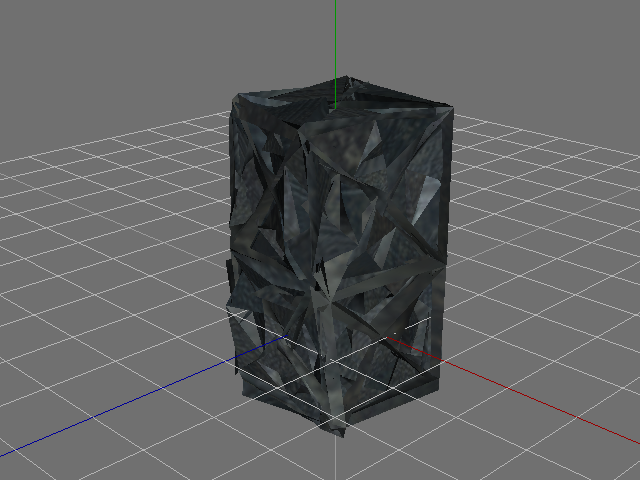
New UVMap The model's texture should look alot less stretched on the model now. Something like this;
Finished Crumple Frame 1 Now save this model SEPERATELY from your default model. Because you see, when creating walls, the walls crumple when they take a certain amount of damage in GB. So let's get to work on the next crumple frame. We're first going to press and hold CTRL+A again on our model, and go back into the vertice selector. Now right click on the 3D plane and select Deform->Torque->Y. Results should look like this;
Crumpled Frame 2 - Test 1 Now we're going to go back into the face selector, and press and hold CTRL+A. Now right click on the 3D plane and select Scale->Y. Results should look like this;
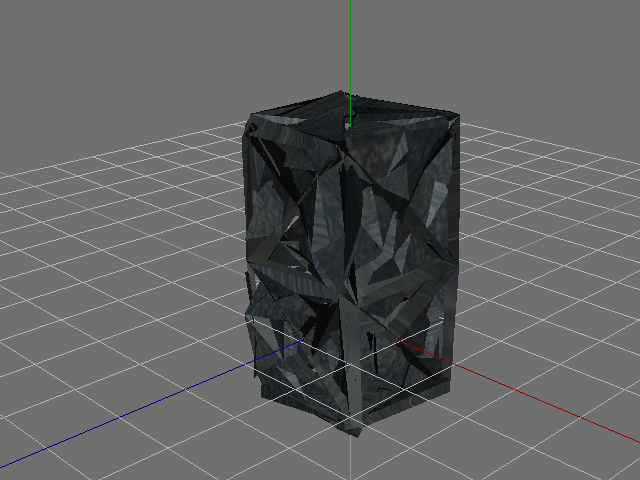
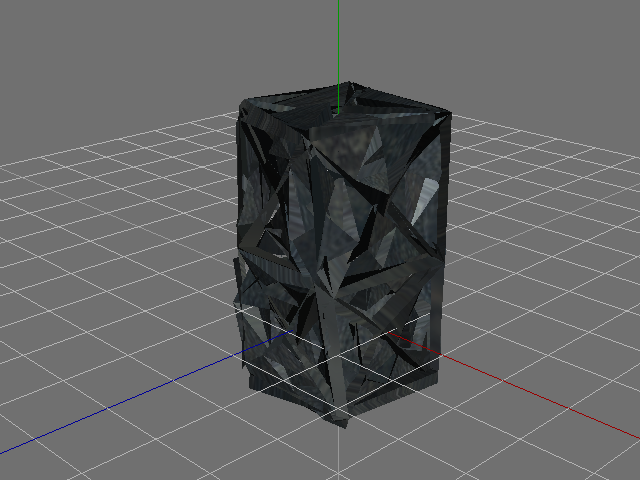
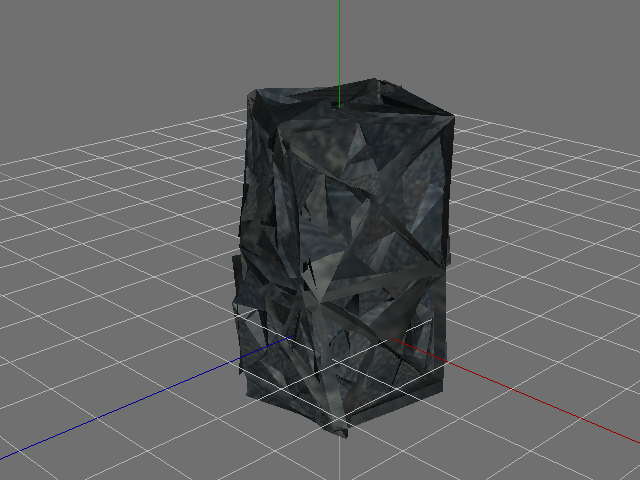
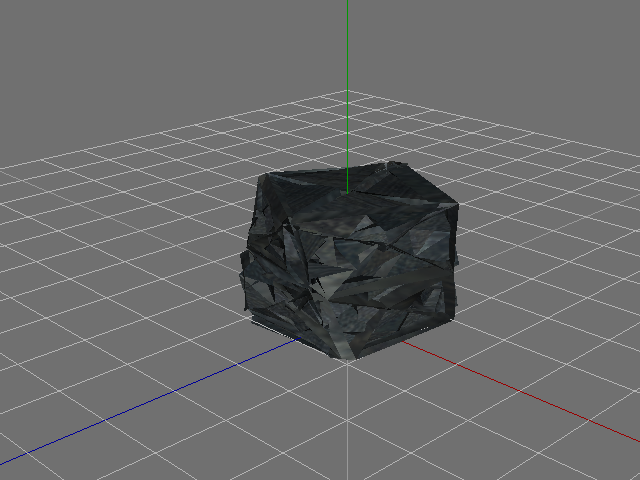
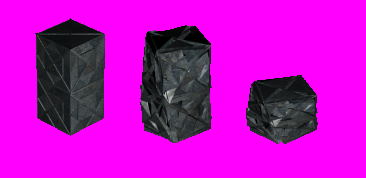
Crumpled Frame 2 Now let's put both of these new deforms into the renderer. Mine looked like this;
Rendered Crumpled Frame 1
Rendered Crumpled Frame 2
- Issue 5 -
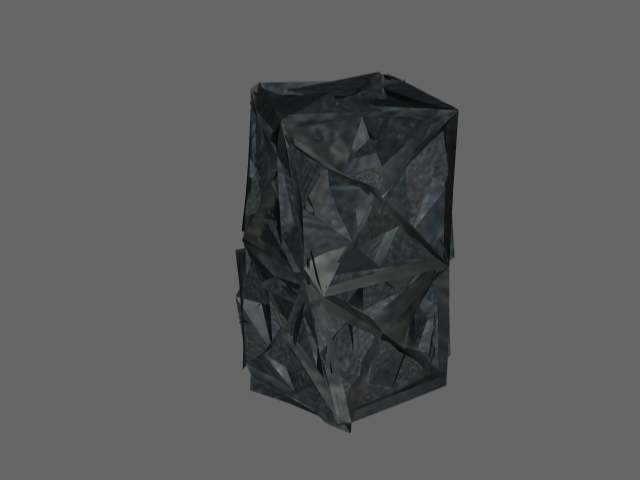
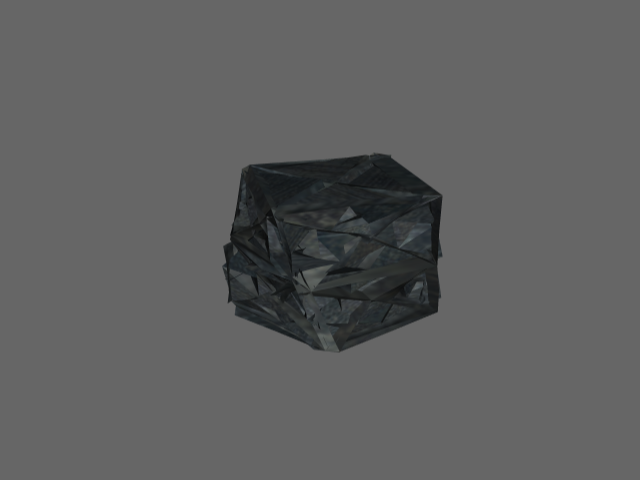
Now that we have the models finished, let's get to making it ready for GB. This will cover, lighting, and rendering.We last left our models in the current state;
Standard Render
Rendered Crumpled Frame 1
Rendered Crumpled Frame 2 Now let's put it through the lighting stage. Now go into the Face Selector, and right click on the 3D plane, select Light->Point. Results should look like this;
Light To give a preview of your scenes lighting. Go into View->Scene Lights. Results on the current lighting should look like this;
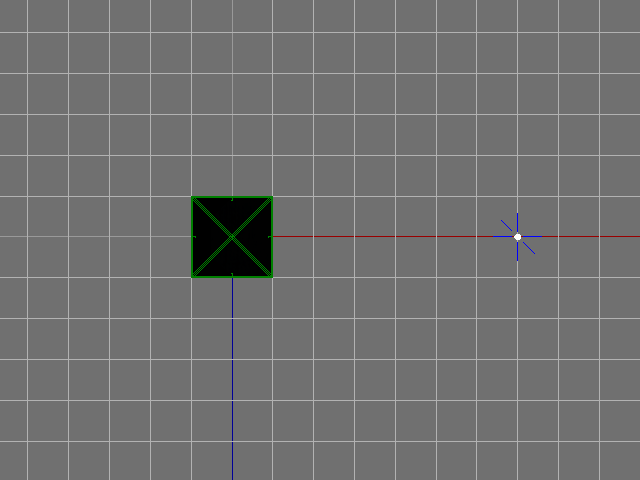
Scene Lighting in Practice Now go into your face selector, and select the light. Now right click on the 3D Plane and select Move->X. Now only move it five grid-blocks. Like this;
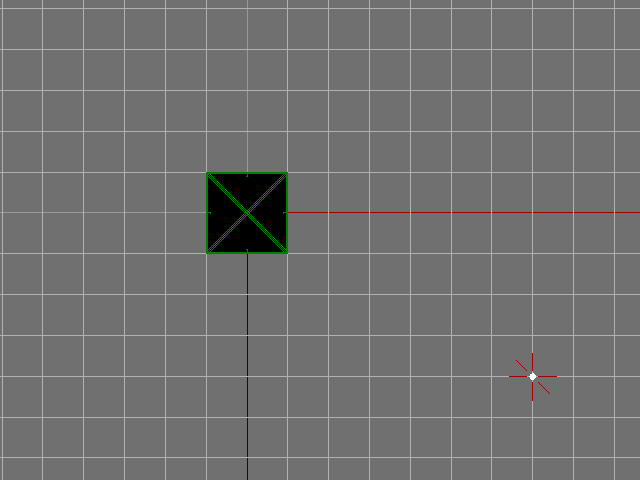
5 Squares Down Yay! Now move the light by 'Z'. 4 squares down. Results should look like this;
Light Stage: 90% Woot! Now, since the sun in GB is upwards, move the light up a tad. Results should look like this;
Measure Light Mind you the transparentish light is there only to show you how much of a distance it should be. Now let's put all of our models through the light stage. My finished renders of the light look like this;
Main Frame
Crumpled Frame 1
Crumpled Frame 2 Looking good aren't they? Well now we just have to get them at the right angle and right size of GB. Use this image as an example;
Right Angle and Scale Now render. Here is the finished results, all ready to be added into GB;
Finished Frames And so ends the Newbies Guide! Stay tune in summer for 'The Designer's Guide to Wings 3D'.
I'm open for Q&A, so if you have a question; shoot.


[This message has been edited by Lord Plagueis (edited 04-03-2006 @ 07:25 PM).]


 j/k
j/k